Last updated November 17, 2026







Free written scope consultation - allowances, timeline, and change-order rules on paper before a single trade is scheduled
Kitchen Remodeling Maintenance Schedule: What to Do and When
Here’s a number that surprises most homeowners: the majority of kitchen remodel callbacks we see aren’t caused by a bad installation. They’re caused by a skipped caulk joint. That thin bead between your countertop and backsplash can fail in month three. It’s a five-minute fix then. Left alone in North Miami’s humid air, that same gap becomes a mold remediation job by month eighteen. This guide gives you a real calendar for the first year after a kitchen remodel, built for South Florida’s climate, not a generic checklist written for a dry-climate house in another state. You’ll learn the 30-day, 90-day, 6-month, and 12-month tasks that keep a new kitchen tight, and how documenting them protects your workmanship warranty.
Quick Answer
A kitchen remodel needs a structured first-year maintenance schedule: inspect and touch up caulk at 30 days, adjust cabinet hinges and drawer slides at 90 days, re-seal grout and test sealant at 6 months, and repeat the caulk and hardware checks at 12 months. In North Miami’s humidity, the 30-day and 6-month windows matter most, because caulk and grout fail faster in warm, damp air than they do in drier climates.
Styles & brands we work with
- Kitchen remodeling
- Bathroom remodeling
- Home additions & ADU
- Roofing
- Windows & doors
- Driveway & pavers
- Fence
Table of Contents
- Why the First Year Decides Whether Your Remodel Lasts
- The 30-Day Window: Caulk and Settlement
- The 90-Day Window: Cabinet Hinge and Drawer Slide Adjustment
- The 6-Month Window: Grout Sealing and Moisture Checks
- Countertop-to-Wall vs. Appliance-to-Countertop: Two Joints, Two Schedules
- The 12-Month Anniversary Inspection
- How Tracking Maintenance Protects Your Workmanship Guarantee
- Common Mistakes to Avoid
Why the First Year Decides Whether Your Remodel Lasts
A new kitchen is not a finished, static thing. It’s a set of materials that keep moving after the crew leaves. Wood cabinets take on and release moisture with the seasons. Grout cures and shrinks. Caulk flexes every time you open a drawer or set down a hot pan. In North Miami, where the average relative humidity sits well above what drier cities see, that movement happens faster and more often.
The first year is when everything is still under warranty, still adjustable, and still cheap to correct. A hinge that’s drifted a few millimeters at month three is a two-minute screwdriver turn. The same hinge left alone for two years can strip its mounting plate, and now you’re patching a cabinet box instead of tightening a screw. The math is the same for caulk and grout.
We’ve walked into North Miami kitchens four years after a remodel and found the work itself held up fine, but the maintenance was never done. The cabinets were solid. The countertops were beautiful. The caulk lines had gone dark and the drawer slides were grinding. None of that was a workmanship failure, but all of it looked like one.
Key takeaways for the first year:
- Most issues are adjustable and inexpensive if you catch them in the first 12 months.
- Humidity accelerates caulk and grout failure in North Miami specifically.
- Documenting your maintenance is what lets you invoke a warranty with confidence.
The 30-Day Window: Caulk and Settlement
Thirty days after your remodel wraps, the kitchen has settled. Caulk that was applied during the final week has fully cured and revealed whether it bonded cleanly. This is the single most important window on the calendar.
Here’s what to check and why it matters:
- Run a finger along every caulk joint. Countertop-to-backsplash, countertop-to-wall, sink-to-counter, and the seam where the backsplash meets the upper cabinets. A joint that’s pulled away from either surface needs a fresh bead. In North Miami’s air, a failed bead traps moisture against the drywall behind it.
- Press on the backsplash tile. Any tile that sounds hollow or moves slightly under pressure indicates the thinset didn’t fully bond.
- Open and close every cabinet door and drawer. Note which ones rub, stick, or won’t stay closed. Write it down; this list becomes your 90-day checklist.
- Check under the sink for moisture. A slow drip from a supply line or drain connection shows up here first and can rot the cabinet base before you notice it.
- Look at the countertop seams. Seams between slabs shouldn’t move. If you can feel a lip, call your contractor.
That failed bead of caulk is the number-one cause of callbacks we see in North Miami. It’s also the cheapest thing on this entire list to fix, which is exactly why the 30-day window is worth taking seriously. If you’d rather have a professional handle the inspection, our kitchen remodeling in North Miami team includes a first-year maintenance walkthrough.
The 90-Day Window: Cabinet Hinge and Drawer Slide Adjustment
This is the task almost no homeowner knows they need, and it prevents the vast majority of “my cabinets are misaligned” complaints. Cabinet doors are hung with adjustable hinges, and drawer slides have their own adjustment points. Both drift during the first few months as the cabinet boxes settle and the wood finds its resting shape.
A door that’s off by a millimeter at month one can be off by five by month six. Here’s how to handle it:
- Identify the hinge type. Most modern cabinets use concealed European-style hinges with three adjustment screws: one for side-to-side, one for in-and-out depth, one for height.
- Check door gaps. Stand back and look at the gaps between doors. They should be even. A door that’s tight at the top and wide at the bottom needs a height adjustment.
- Adjust one screw at a time. A quarter turn is often enough. Small moves.
- Test drawer slides. Pull each drawer fully out and push it back. If it catches, sags, or the front panel tilts, the slide has an adjustment screw behind the drawer box.
- Tighten, don’t overtighten. Cabinet screws strip easily. Finger-tight plus a quarter turn is the rule.
In North Miami, where humidity swings with the afternoon storms, cabinet doors move more in a single season than they do in a year up north. Expect to make a second small adjustment around month six. That’s normal, not a defect. Our technicians have up to 22 years of experience with exactly this kind of settling, and if you’re not comfortable adjusting hinges yourself, it’s a quick service call rather than a project.
The 6-Month Window: Grout Sealing and Moisture Checks
Grout sealing timing is where climate matters most. In a humid environment like North Miami’s, new grout should be sealed once it’s fully cured, typically around the 30-day mark, and then re-tested at 6 months to see whether the sealer is still holding.
How to test whether your sealer is still active:
- The water bead test. Drip a few drops of water on the grout in an inconspicuous spot. If it beads up and sits on top, the sealer is working. If it darkens and soaks in within a minute or two, the sealer has worn through.
- The pencil test. Rub a pencil on the grout and try to wipe it off. If it wipes clean, sealer is intact. If it stains, it’s time to re-seal.
Which sealers hold up in Florida kitchen conditions? Penetrating sealers (the kind that soak into the grout rather than sitting on top) perform better here than film-forming sealers. Film-formers can trap moisture underneath, and in North Miami’s humidity that trapped moisture becomes a problem. Look for a penetrating sealer rated for kitchens and reapply every 12 to 18 months in a humid climate.
At the 6-month mark, also check cabinet toe kicks and the base of any cabinet against an exterior wall. In North Miami, that’s where humidity-driven swelling shows up first. Look for bubbling laminate, soft spots, or a musty smell.
If your remodel included a full refresh and you’re planning the next one, our general contractor in North Miami team can walk you through what to expect on a full kitchen scope.
Countertop-to-Wall vs. Appliance-to-Countertop: Two Joints, Two Schedules
Most homeowners treat every caulk joint as the same joint. They’re not. The joint between your countertop and the backsplash/wall moves one way. The joint where your range or refrigerator meets the countertop moves another. They fail on different schedules and need different caulk products.
Countertop-to-wall joint: This joint moves as the countertop expands and contracts with heat and the wall shifts slightly. It needs a flexible, paintable siliconized acrylic or a 100% silicone caulk intended for counters. Inspect it at 30 days and every 6 months after. When it pulls away, clean it out fully and reapply; don’t caulk over old caulk.
Appliance-to-countertop joint: This joint sees movement every time you open the range door, slide a pan, or shift the refrigerator. It also gets direct heat from the oven. It needs a high-temperature silicone. In North Miami, where the kitchen may run warmer for more of the year, this joint fails faster. Check it at 90 days and again at 6 months.
Why this distinction matters: using the wrong caulk on the appliance joint means it fails within weeks. Using an overly rigid caulk on a countertop joint means it cracks instead of flexing. Matching product to joint is the whole game.
The 12-Month Anniversary Inspection
At the one-year mark, you do a full pass again. This is your chance to catch anything before the workmanship warranty period end, and it’s the reset point for the year to come.
- Re-run the 30-day caulk check. Every joint, front to back.
- Re-check hinges and slides. Adjust any doors that have drifted over the year.
- Re-test grout sealer. Water bead test. Re-seal if needed.
- Inspect under the sink and around the dishwasher. Moisture, staining, or soft wood.
- Check the countertop for chips or seams that have opened. A seam that moves is a workmanship issue, not a maintenance item.
- Photograph everything. Dated photos of your kitchen in good condition become your documentation if you ever need warranty service.
For North Miami homeowners, the 12-month inspection lines up with the start of another humid summer. That’s the right time to have a professional take a look at the joints and seals, especially along exterior walls where the heat load is highest. To see how we handle the full kitchen scope from start to finish, visit our Penhallow Remodeling North Miami home page.
How Tracking Maintenance Protects Your Workmanship Guarantee
A workmanship guarantee covers what the contractor built. It doesn’t cover damage caused by neglect. That’s why documenting your maintenance work matters: it’s the difference between a warranty claim that gets honored without question and one that turns into an argument about what happened.
Our 365-Day Done Right Promise says that if the work fails inside the guarantee period, we come back and fix it at no charge. The guarantee is in writing on every project. But if a joint failed because it was never sealed and water got behind the drywall, that’s not a workmanship failure. If you have dated photos and a maintenance log showing you checked the joint at 30 days and re-sealed it, that’s what supports a claim when something genuinely goes wrong.
What to keep in a simple maintenance log:
- Date of each inspection.
- What you checked and what you found.
- Photos of joints, seals, and hardware.
- Any product you used for re-sealing or touch-up.
This log also gives a contractor a real picture of your kitchen’s history if you ever call for service. In our experience, the homeowners who keep this record have a much smoother warranty experience than the ones who call six months after the fact with no memory of when the caulk failed.
Common Mistakes to Avoid
- Caulking over old caulk. New caulk won’t bond to a failed bead. Scrape it out first. In North Miami’s humidity, a bad bond fails within weeks.
- Skipping the 90-day hinge adjustment. This is the single task most homeowners don’t know they need, and it prevents most misaligned-cabinet complaints we see.
- Using one caulk for every joint. Countertop-to-wall and appliance-to-countertop joints fail on different schedules and need different products. Match the product to the joint.
- Assuming grout sealer is permanent. It isn’t. In a humid climate, test it every 6 months and re-apply when the water stops beading.
- Ignoring the area under the sink. A slow supply-line drip found late can rot the cabinet base and cost far more than the repair itself.
- Treating a moving countertop seam as a maintenance issue. A seam that shifts is a workmanship item and should be documented and reported, not caulked over.
- Never documenting your maintenance. A warranty claim is stronger with dated photos and a log. Skip it and a covered repair can become a debate.
See the difference
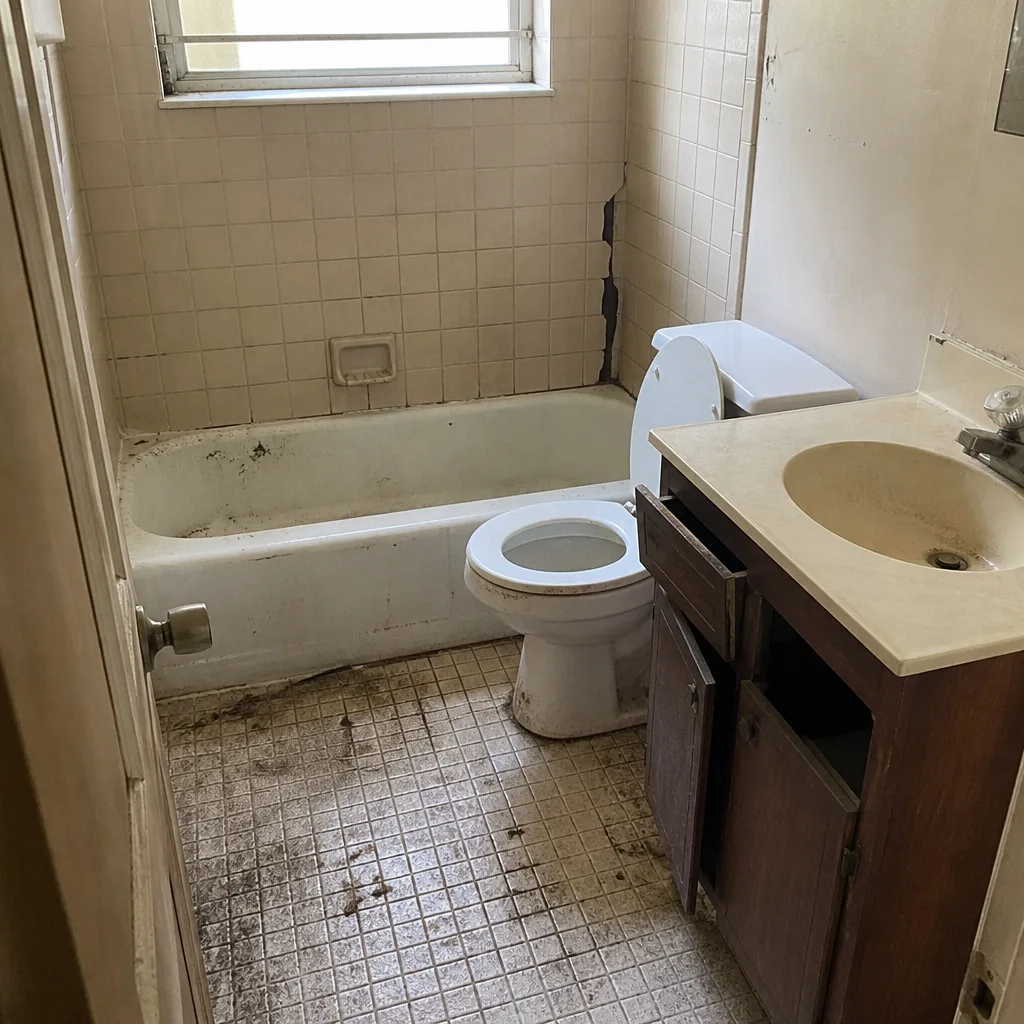 Before
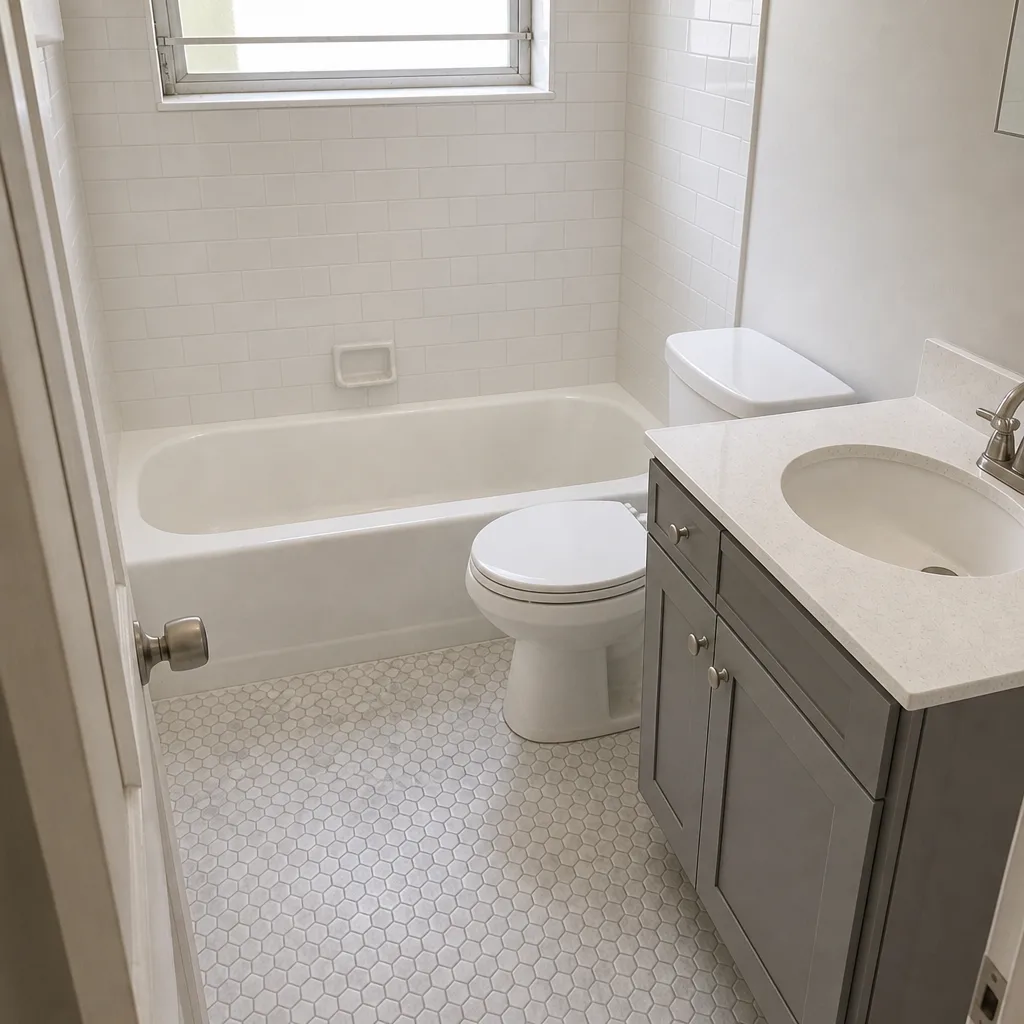 After
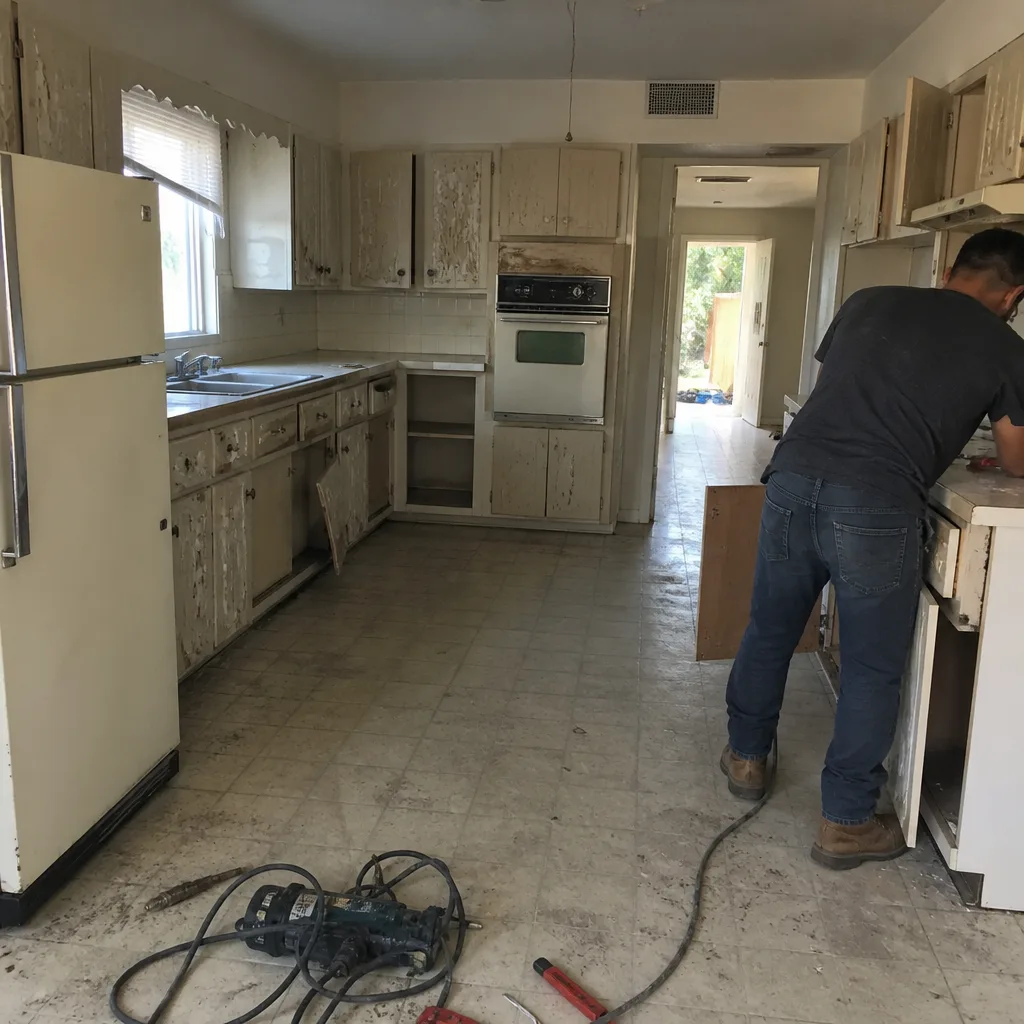 Before
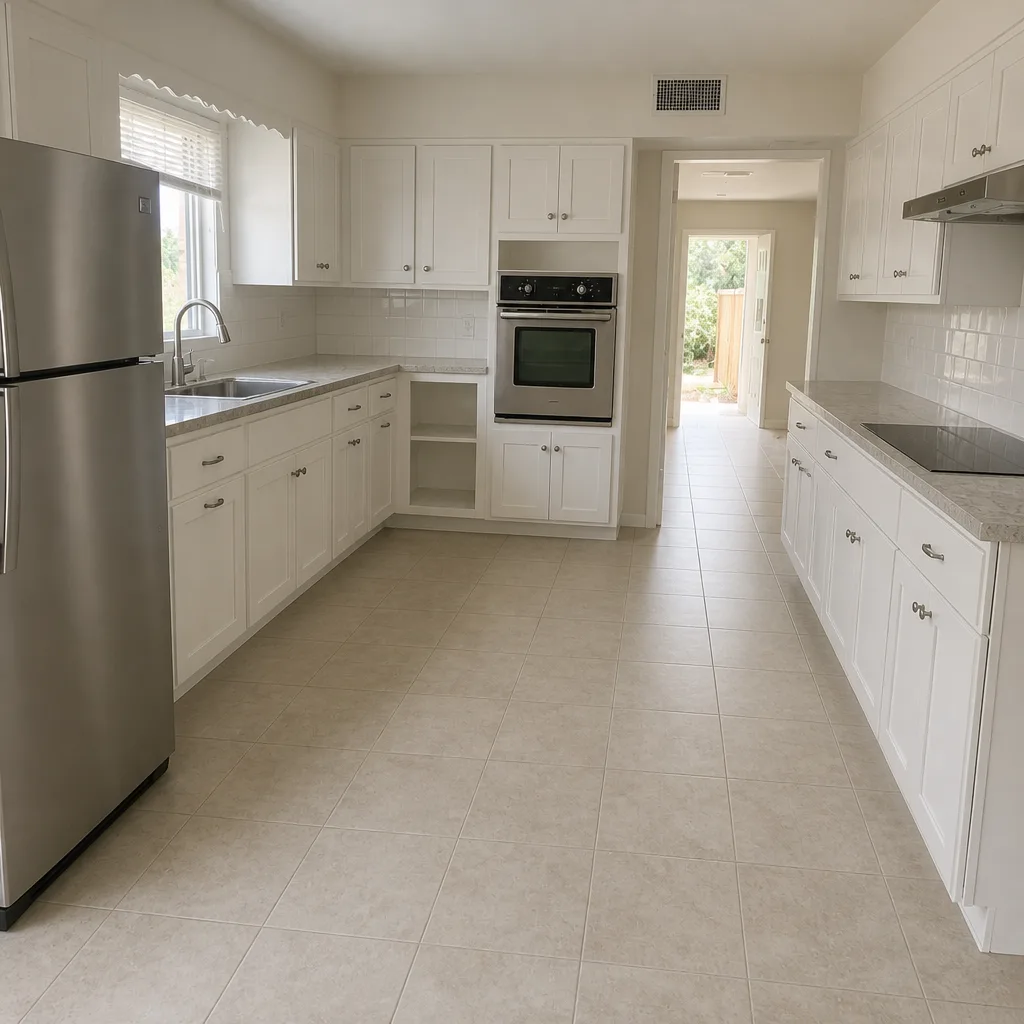 After
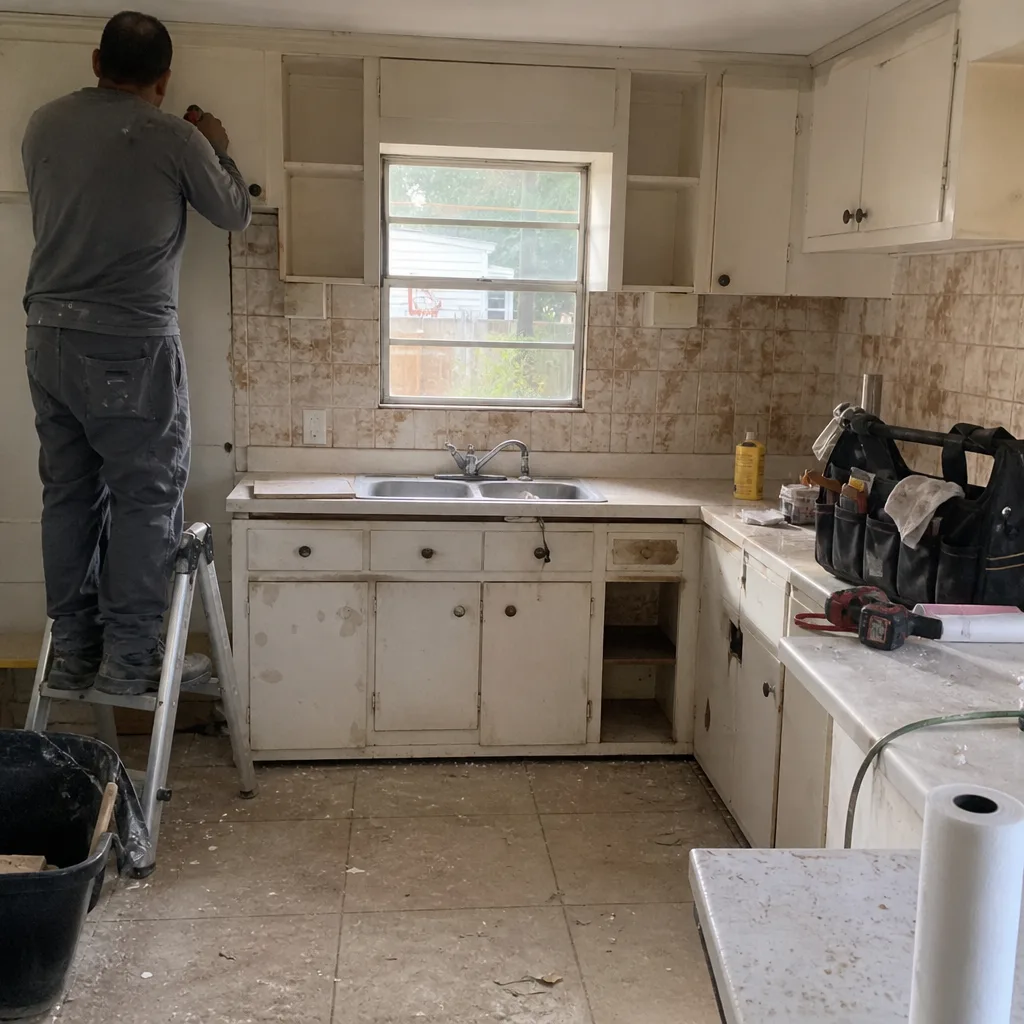 Before
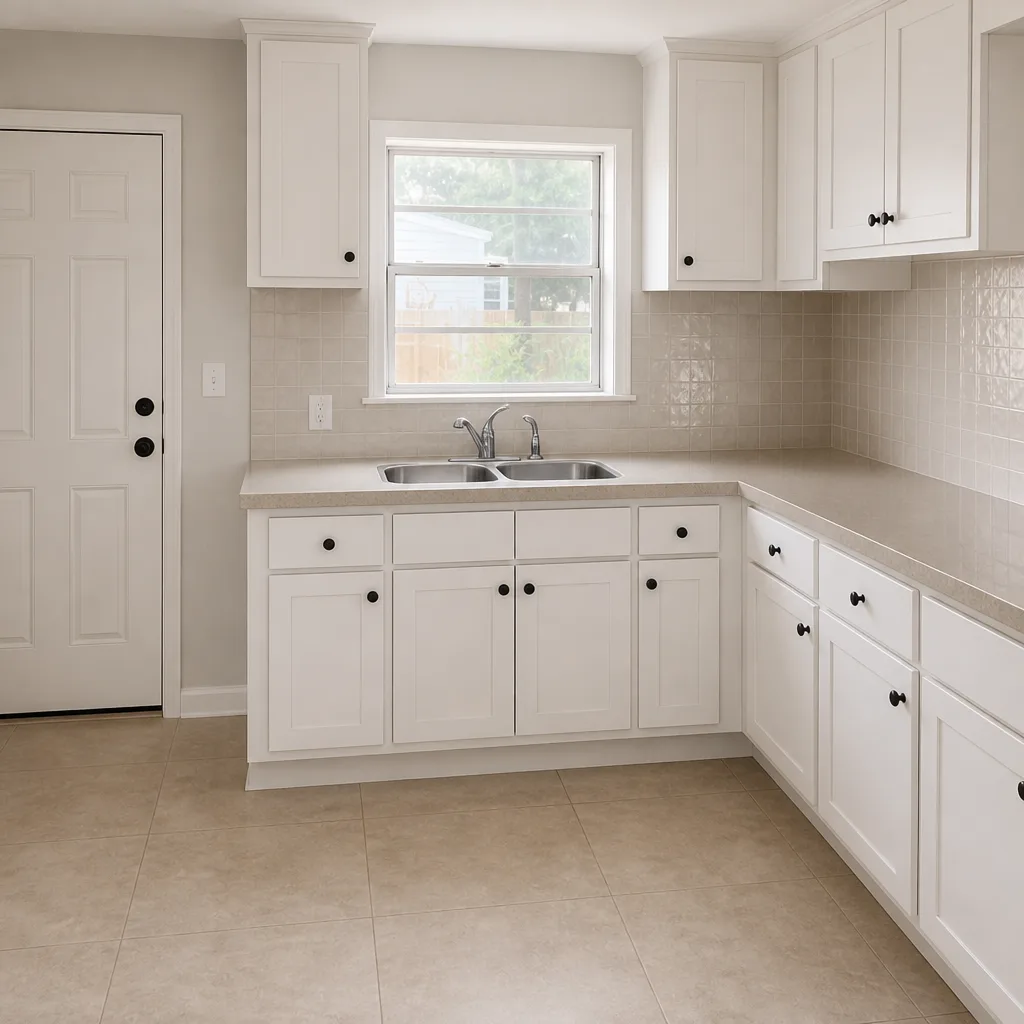 After
When to Call a Professional
Some tasks are maintenance you can handle in an afternoon. Others aren’t. Call a professional if a countertop seam has opened or the countertop feels loose, if you find soft wood or a musty smell in the cabinet base, if a backsplash tile moves or sounds hollow when you press it, if water is staining the wall behind the counter, or if the grout in a wet area has cracked deeply rather than just worn. Those are not maintenance items; they’re signs that something structural or moisture-related needs a trained eye. If you’re not sure how to adjust a hinge or re-seal grout, that’s also a good reason to have someone walk you through it once. Penhallow Remodeling North Miami offers free estimates in North Miami, call (888) 255-7411 to schedule yours. We’ll give you a written price before any work starts, and a real arrival window you can count on.
Frequently Asked Questions
Inspect every caulk joint at 30 days after the remodel, then every 6 months after that. Re-caulk any joint that has pulled away from the surface. In North Miami’s humidity, expect the countertop-to-wall joint to need attention sooner than it would in a drier climate.
Cabinets settle as the wood adjusts to changes in humidity. That’s normal, not a defect. Usually a hinge or drawer slide just needs a small adjustment, which is why we recommend a check at 90 days. A quarter-turn on the hinge screw often fixes it. If you’re not comfortable adjusting it yourself, call (888) 255-7411 for a service visit.
Seal new grout once it’s fully cured, typically around 30 days after installation. Then test the sealer every 6 months with the water bead test. In South Florida’s climate, expect to re-seal every 12 to 18 months.
Yes. Check caulk joints and cabinet bases more often than you would in a drier climate. Pay attention to any cabinet against an exterior wall and to the area under the sink, where moisture shows up first. A 30-day caulk check is more important here than almost anywhere.
A workmanship warranty covers what the contractor built, not the results of skipped maintenance. If you want your warranty claim to stand without question, keep a simple log of inspections and photos. That record protects your ability to invoke the guarantee if something genuinely fails.
Cost depends on the scope. A hinge-and-caulk check is a quick service call, while a full first-year inspection with grout re-sealing takes longer. Penhallow offers free estimates, so call (888) 255-7411 for an exact quote. Every project gets a written price before any work starts, and our 365-Day Done Right Promise backs the work in writing.
The Bottom Line

The biggest threat to a North Miami kitchen isn’t a bad remodel. It’s a skipped maintenance window. Check caulk at 30 days, adjust cabinet hinges and drawer slides at 90 days, test and re-seal grout at 6 months, and run a full inspection at one year. Each of those tasks is cheap and easy when it’s caught early, and expensive when it isn’t. Document what you do, because that record is what protects your workmanship guarantee if something fails. If you’d rather have a professional handle the inspection or want a written estimate on any maintenance or kitchen work, call (888) 255-7411 for a free estimate. A live person answers, and we’ll show up in the window we gave you.
Explore our bathroom remodeling in North Miami page to see how the same maintenance thinking protects wet areas, and if a full remodel is on the horizon, our team is glad to walk you through the details.
Written by the team at Penhallow Remodeling North Miami.